Prototype 3D model process
This is my 3D prototype process.
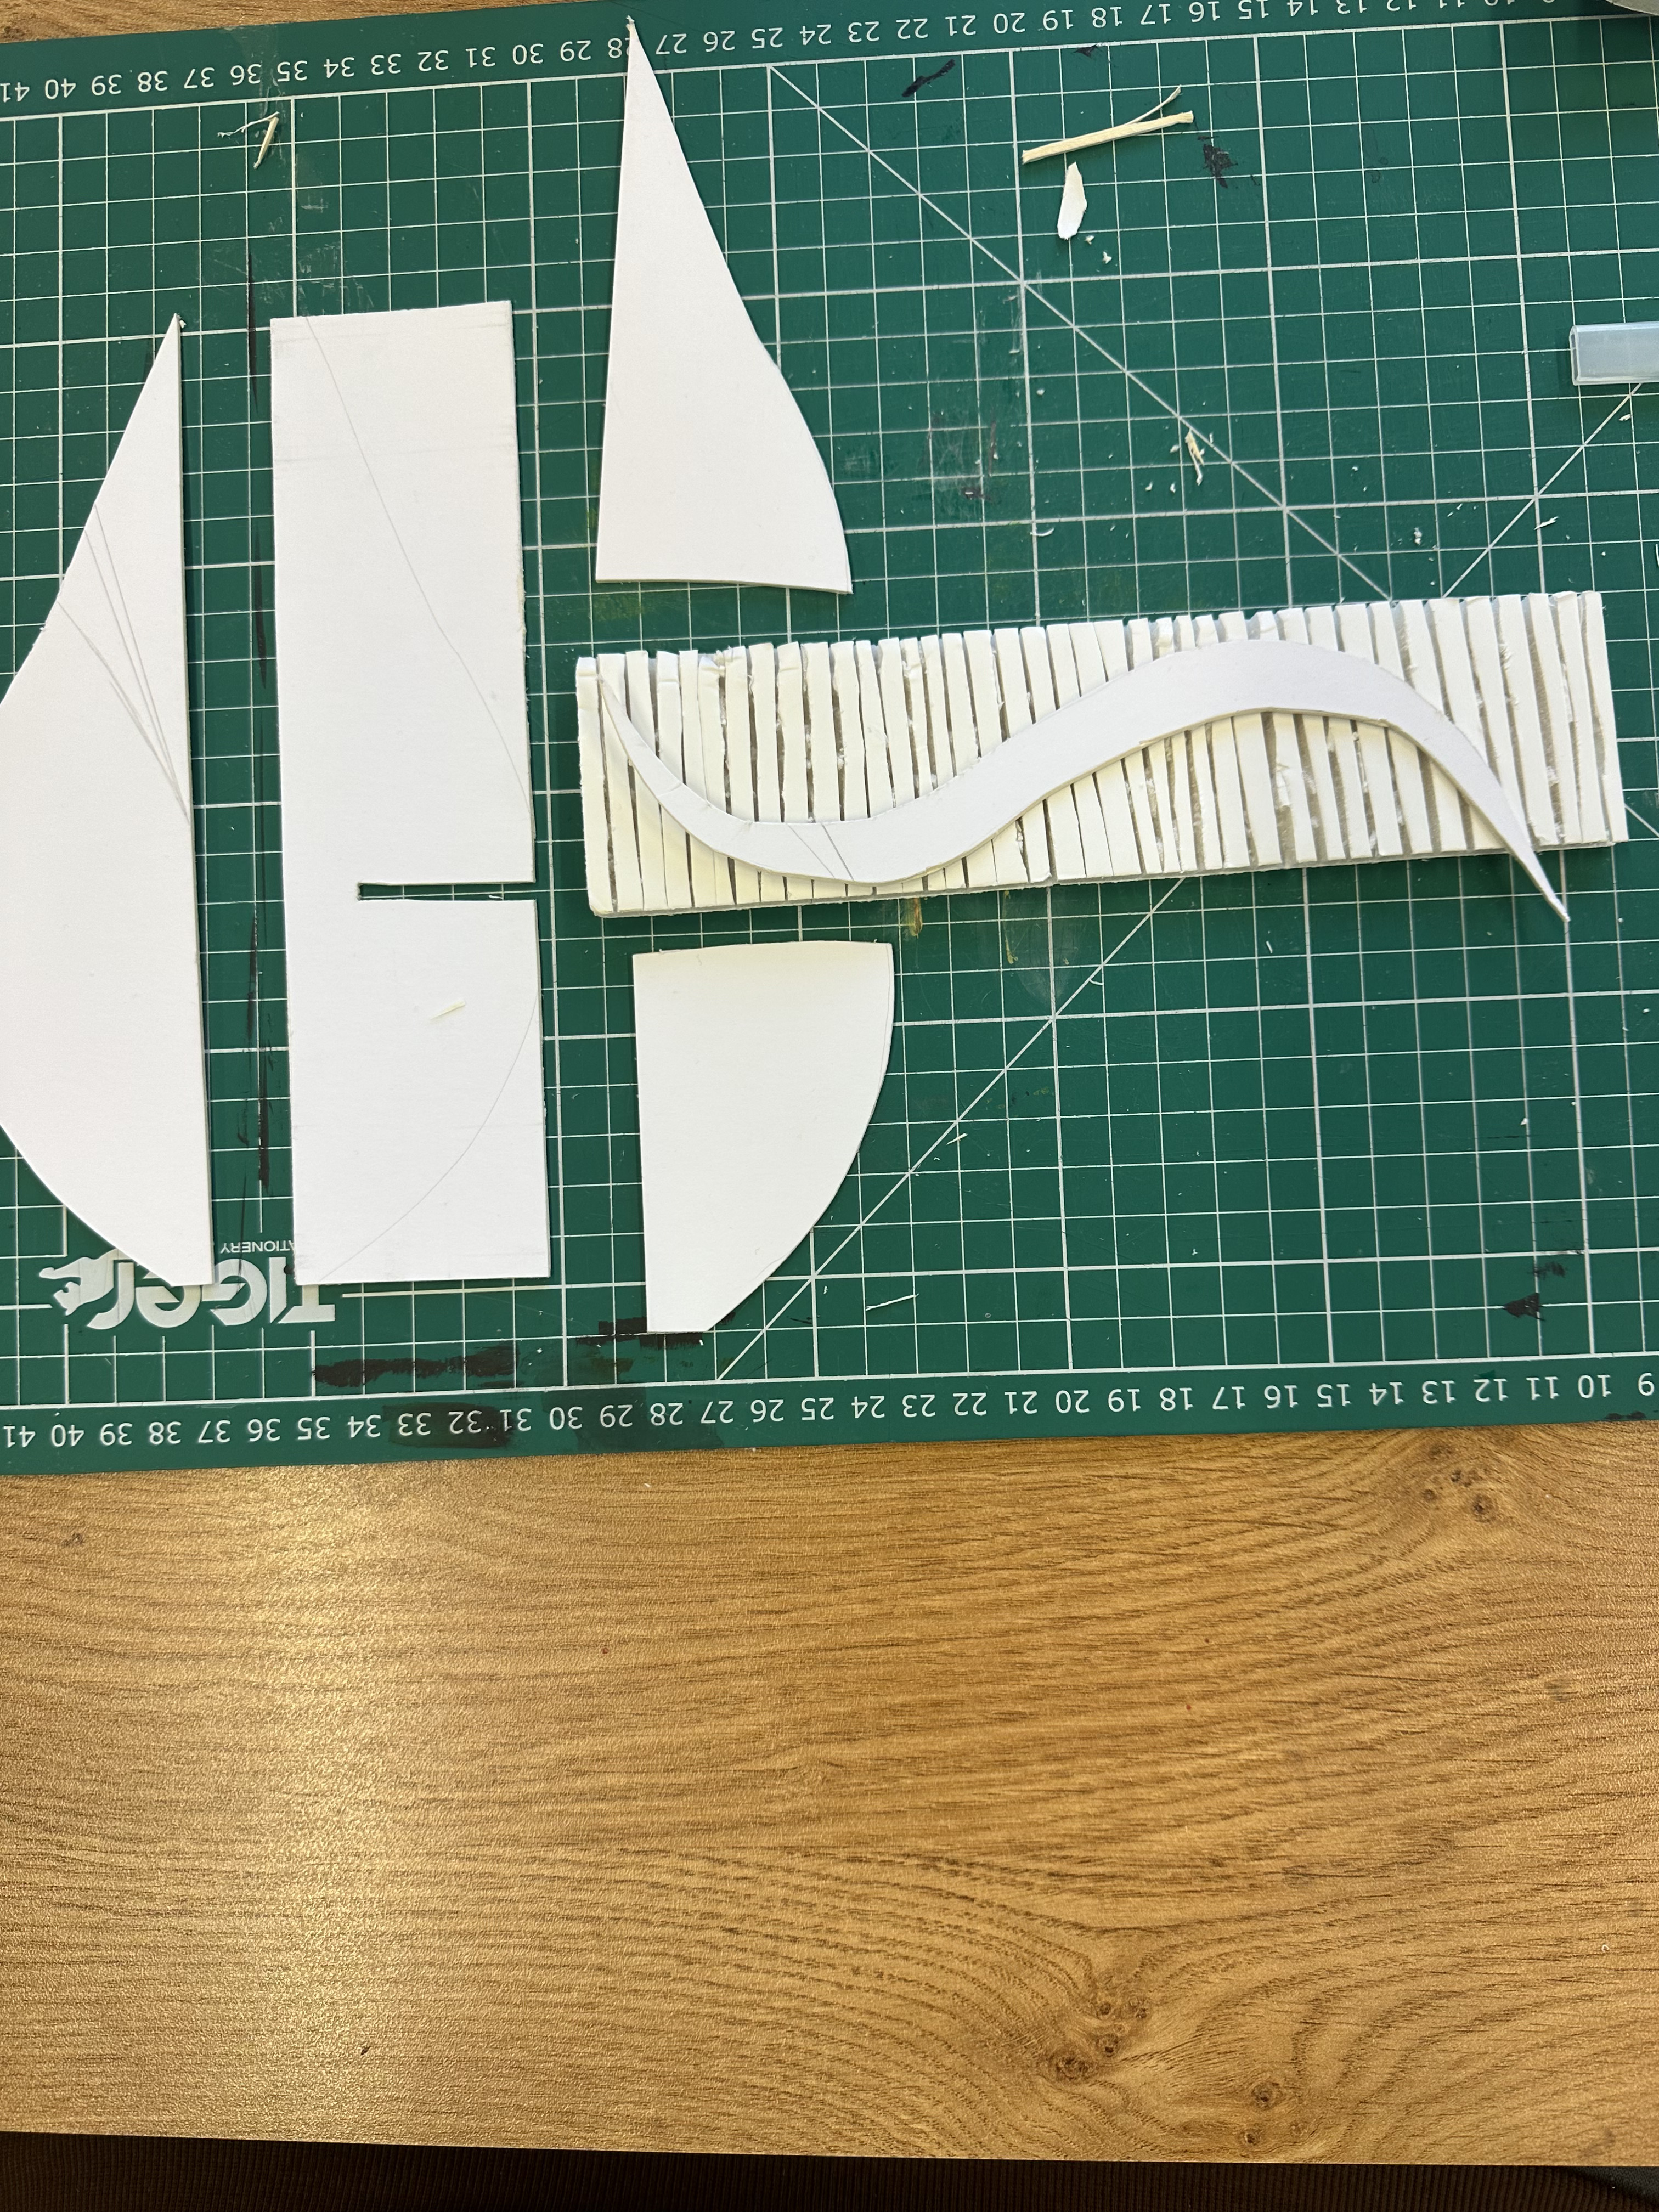
I used foam board and mount board as the main materials.

I started by cutting out the water drop shapes from mountboard for the main part of the design with a craft knife, after I measured them.


Then I cut out a wave line that I would later glue on the foamboard wave part and tested out the placement.


After I cut a rectangle foamboard piece, I started cutting lines on it and making some space in between every cut which would help the material bend for the wave.


After I tried the placement of the mount board wave on the foamboard piece to see if it fits correctly.

After that, I started cutting out the lines on the pieces in where the wave part will be placed.

After I had most of the pieces ready I tested out the foamboard wave on the straight wall of the mountboard to see if it would stand and bend correctly when placed in between the cut.

After I started gluing the pieces together of the main part with PVA.


After the three walls were glued together and let dry, I had the second piece of foamboard which I cut the same way as well and started to place it slowly on the curved side after applying some glue on the edges.

This was a tricky part because the piece wouldn't stay in place and when it did after I reapplied it again and put objects around it to hold until it dried, the end result was still a little messy.


Then for the next part I trimmed the middle part of the foamboard piece so it would be the same size as the cuts in the building.

Then I cut 2 pieces of mountboard for the terrace and the right edge wave part which would help stick the wave to the building and create the curve of the edges.

I glued the two pieces on the wave edges and then started by gluing both of them and the base of the building on a cut mountboard piece.

After that was done, I glued the mountboard wave piece on the already curved foamboard piece.


This is the result of the prototype. Overall I thought I wouldn't be able to complete this because of the curved wall issue, but I tried to assemble it as best as I could. The final outcomes are a bit messy and not precise but the general idea and vision of the design are shown. I believe by creating a prototype for the first time and recognizing mistakes and new ways of application would definitely help on a future model I would try and even helped the thought process of the final 3D outcome as well.


Although this might not have gone as well as you hoped it would, I think it was still valuable practise to better understand the structure and form of your design idea. Well done for getting to the end of this prototype!
ReplyDelete