Creating my boards - Board 7 Floorplans/dimensions - Project development
This is the process of creating my seventh board using Photoshop for my project. This board will be about my floorplans and dimensions.
First, I opened my account and clicked on "new file" at the top left
.png)
I clicked on "print", "A3" and then landscape mode to open the new page.
.png)
I added the same coloured stripes at the top and left of the page with the "rectangle tool" from the left toolbar. I applied the colours by clicking on each stripe and then going to the right toolbar settings and clicking on "fill" and then chose the colours I wanted.
.png)
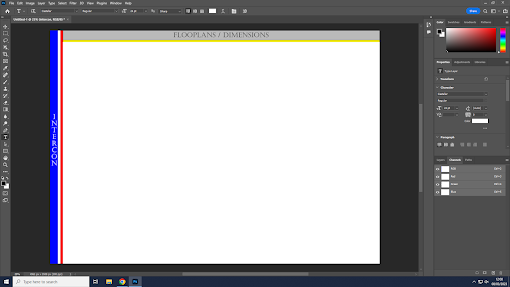
After I added my titles using the "T" icon tool from the left toolbar, I used the font " Castellar" in 30pt. I placed the titles on top of the stripes at the left and top of the page.
.png)
Then I clicked on "file" at the top left corner and then on "open", then on "on your computer" and chose the file for the images. After that, I selected the images with the "rectangular marquee" tool. Then copied and pasted them on my board. I changed the size by clicking on " show transform controls" from the top setting bar.
.png)
I then added a few text boxes for the dimensions with the same text tool using the "California FB" font and 18pt and added another image.
.png)
This is the end result of my last board


.png)
Comments
Post a Comment