My own advert - Process and results
This blog will be about the process of creating the end advert and I will show the final result.
When I chose my image online from the research I did previously, I went ahead and started the image advert by going into Pixlr like I did in my practice blog. I followed the same steps as last time with editing and adding text and the logo I created first to the image which I show below in the process .

I first opened Pixlr and chose Pxlr E


Then I clicked on 'page' , 'page rotation' and 'rotate left' to turn my image sideways


Afterward, I added text to the image which I did by going to the sidebar tool and selecting the 'T' sign (Text tool), then selecting where I wanted to add my text and wrote it . I changed the fonts to 'ATOMSFER' and the colour to match the colour palette of the image more. lastly, I adjusted the size of the text to fit at the top left and lower right of the image.
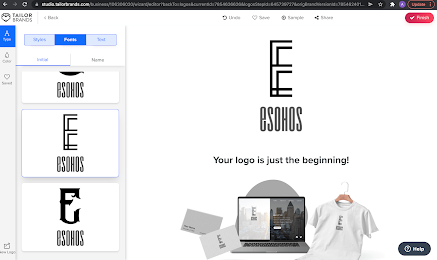
The next step was to create a logo on the website Taylor Brands, I used the name of the logo I created on my practice advert which is ESohos, and then selected one of the several designs that were created.

The last step was to add the logo on the image after I saved it, I opened 'file' again and repeated the same steps from the base picture. Then the logo image opened on a second layer which I selected with the tool 'marquee select' and then 'copy' and pasted it on the base image. I changed the size, colour, and placement.


Comments
Post a Comment